How to Diagnose and Replace a Faulty RV Water Pump: Step-by-Step Guide
Before removing your RV's water pump, it’s important to confirm that it needs replacement. Follow these basic steps to determine if the water pump is malfunctioning:
- Check Your Setup
Ensure your battery is fully charged, your freshwater tank is filled, the city water hose is disconnected, and the pump switch (located at the monitor panel) is turned on. Open a faucet to place demand on the system. You should hear the pump running, and water should come out of the faucet. - If the pump is silent and no water flows, check the fuse in the distribution panel. If the fuse is fine, the pump is likely faulty and will need replacement.
- Locate the Water Pump
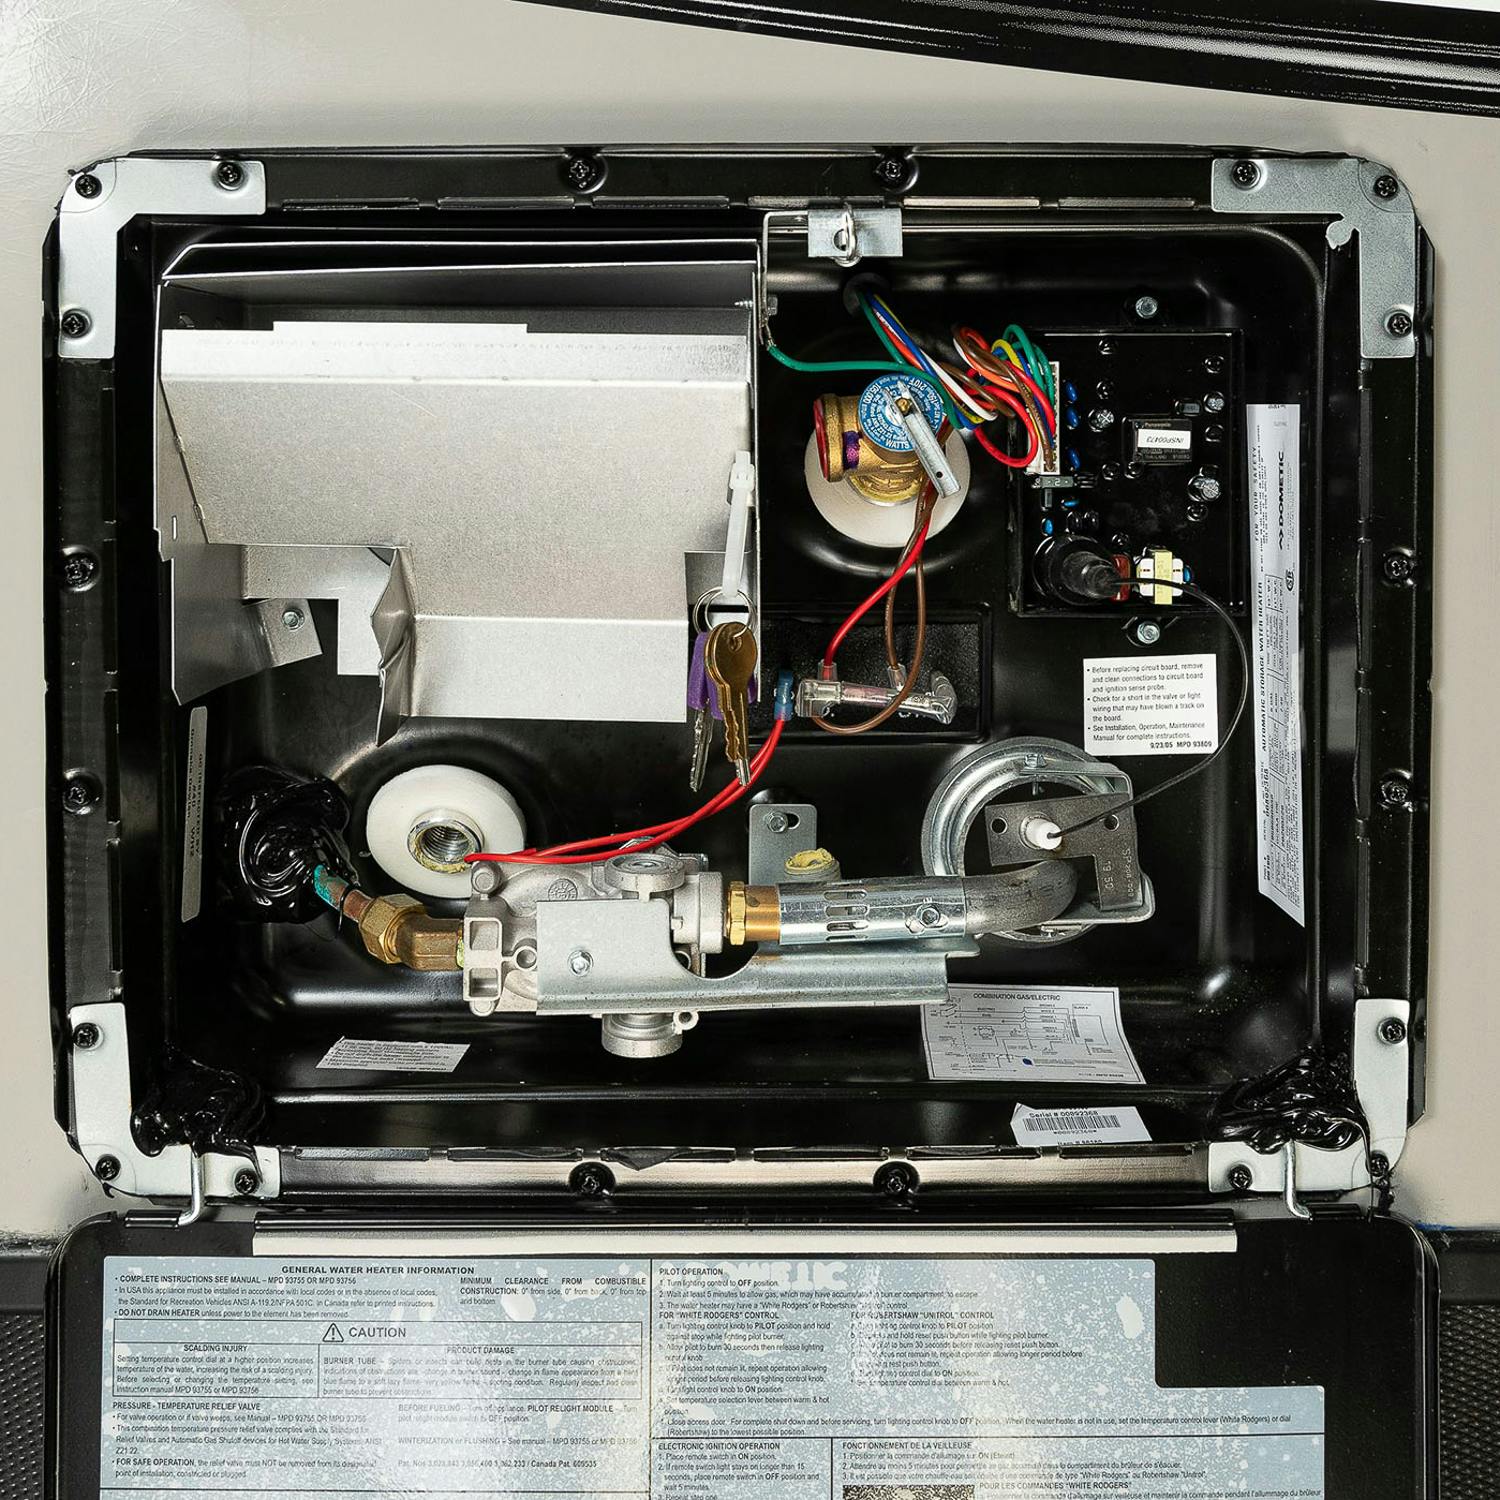
Water pumps are usually situated near the convenience center, where the water hookups are. You may need to remove an access panel either inside the RV or in the pass-through storage area near the front. Use a multimeter to check that there are 12 volts reaching the water pump before proceeding.
Steps to Remove the Water Pump:
- Turn off the Pump Switch
Disable the water pump switch. - Engage the Water Heater Bypass
This ensures no water runs into the water heater during the process. - Remove Pressure
Disconnect the city water connection and release pressure from the lines by turning on any cold-water faucet. - Open Low-Point Drains
This will drain as much water as possible to minimize mess when disconnecting water lines. If your fresh tank is located above or on the same level as the pump, drain it before proceeding to prevent water damage. - Detach the Pump
Remove the screws securing the pump to the floor. Keep them aside for reinstallation later. - Cut the Wiring
Using wire cutters, cut the bell cap connectors and strip about ½ inch from the wire ends. - Disconnect Water Lines
Unscrew the water line connections from the pump (be prepared for water to spill). Check the O-rings for damage; replace them if necessary.
Steps to Install a New Water Pump:
- Transfer the Strainer (if applicable)
If your old pump has a strainer on the inlet side, you can transfer it to the new pump. Some models don’t include strainers, so you may need to purchase one separately for added protection against debris. - Secure the New Pump
Mount the new pump to the floor and reconnect the water lines. Hand-tighten the lines ¼ to ½ turn past tight. - Reconnect the Wiring
Strip the wire sheathing back about ½ inch and reconnect the positive and negative wires using bell caps. Ensure the area and fittings are clean and dry. - Close the Low-Point Drains
After reconnecting the water lines, close the drains to prevent leaks. - Refill the Fresh Tank
Add water back into the fresh tank and turn off the water heater bypass. - Test the System
Turn on the water pump switch and open a faucet to check for leaks. The pump should pressurize the system and then automatically turn off when the desired pressure is reached. Check for leaks again at the water line fittings. - Reinstall the Access Panel
If everything is working properly and there are no leaks, reinstall the access panel.
That’s it! By following these steps, you can successfully replace your RV’s water pump and continue enjoying your adventures without interruptions. Safe travels!
Disclaimer: The information contained in this article is deemed to be true and accurate at the time of publication. However, due to the evolving nature of our products and services, there may be changes or updates that occur after this article was published. We encourage users to verify the contents and consult with their dealer or Keystone RV for the most current information. If you have any questions or require further clarification, please do not hesitate to contact your dealer or reach out to Keystone RV directly.