Get ready for an epic summer on the road with expert insights from Brand Ambassadors, Crazy Family Adventures (Craig and Bryanna). Discover their top tips and insider tricks for preparing your RV for the ultimate summer road trip experience!
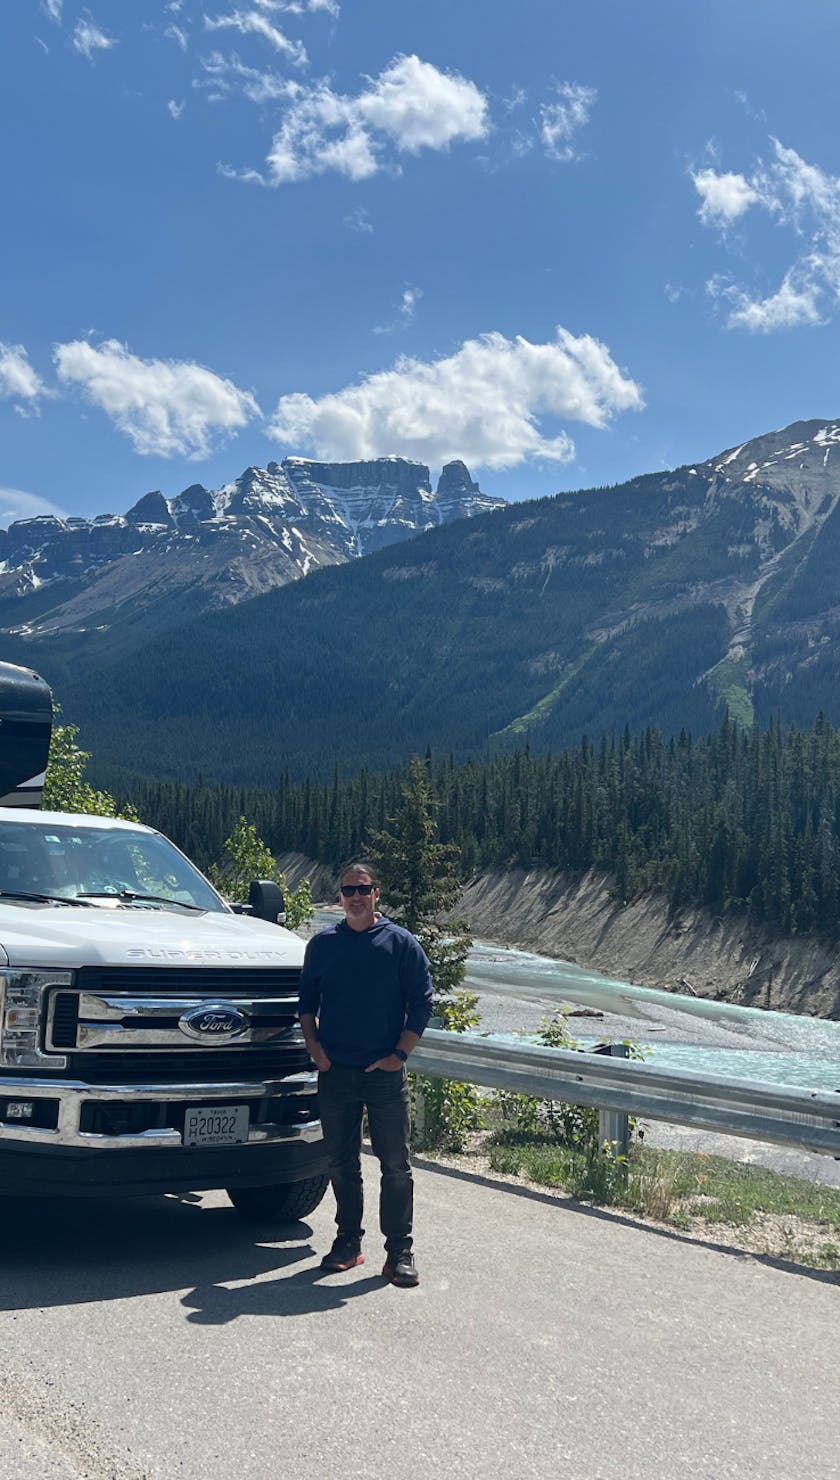
It is almost summer RV road trip time!! We traveled full-time in our RV for over eight years, and last year, we took our brand-new Keystone Arcadia 248SLRE on a road trip from Wisconsin to Alaska (over 10,000 miles!).
Below are the steps we took to prepare our RV before heading to Alaska. If you plan to park your RV in one place all summer, you won’t have to do all of this. But if you are planning one or multiple RV road trips this summer, we highly recommend ensuring your rig is ready!
Remember to follow Crazy Family Adventures on social media for more tips and inspiration for your travels!
DeWinterize
Step one: DeWinterize—we recommend doing this yourself since a shop will charge a lot and take longer than needed. But only you know if this is something you can handle. If not, get an appointment with a shop ASAP!
Steps to DeWinterize:
- Hook your RV up to water and sewer.
- Drain the anti-freeze from your plumbing system.
- Run fresh water through each faucet and shower (don't forget your outside shower). Make sure to do this separately for both the hot and cold lines until you see no more pink (anti-freeze) and the water is clear.
- Next, sanitize and flush your freshwater system.
Process to Sanitize and Flush the Freshwater System:
- Put your hot water tank in bypass mode.
- Add a quarter cup of regular bleach to every 15 gallons of fresh water capacity in a bucket. For example, if you have a 45-gallon fresh water tank, add 3/4 cup of bleach to a bucket and fill the bucket with fresh water to mix the bleach solution.
- Pump or carefully pour (remember, this is bleach!) this bleach solution into your RV fresh water tank.
- After this, fill your fresh water tank with fresh water until it is full.
- Disconnect your water line and turn on your RV water pump.
- Go through each faucet or shower in the RV (don’t forget the outside one). Run the cold line until you smell the bleach solution coming through. After you smell the bleach, turn off the cold line. Do the same for the hot water line, and turn off the faucet when you smell the bleach. This will fill and sanitize the plumbing lines and the faucet.
- Repeat this process for every faucet and shower you have in the RV.
- Let the bleach water sit in the lines for 4–12 hours to let the beach solution disinfect your plumbing system.
- After this time, drain your fresh water tank and plumbing system.
- Refill your fresh water tank with fresh water (no bleach this time) and drain it. We recommend doing this multiple times to rinse out all of the bleach.
- Once you believe all bleach has been removed from the fresh water tank, fill it again, turn the pump on, and run fresh water through each hot and cold line (on each faucet and shower) until you don’t smell bleach.
- Repeat until you feel comfortable that all bleach is removed. You should not smell any bleach.
Tires
Tires are one of the most important things to focus on when preparing for a long RV road trip. We have found ourselves on the side of the highway one too many times with a blown-out tire.
Before your road trip, do the following:
- Check your tires for any sidewall rot. This would look like small, tiny cracks on your tire's sidewalls.
- Check the tire's age (it is recommended they be replaced every 3–5 years).
- Check for abnormal tread wear.
- Inflate your tires to the proper PSI.
If you are planning a long road trip, we recommend upgrading your tires to a higher ply (on our most recent rig, we went from a 10-ply 15-inch rim from the factory to a 14-ply 16-inch rim).
You may have to increase your wheel/rim size, like we did, to get the extra ply. Check your tire clearance under your wheel wells to ensure there is room for a larger wheel/rim.
Wheel
- Inspect your rims and ensure you don't see any cracks or damage.
- Retorque lug nuts to factory specs.
Brakes
Have your brakes inspected at a trailer shop to confirm they are in good shape. If necessary, have them adjusted.
Suspension
Check your leaf springs and hangers for damage, cracks, or bentness. If anything looks wrong, bring it to a trailer shop for further inspection or repair.
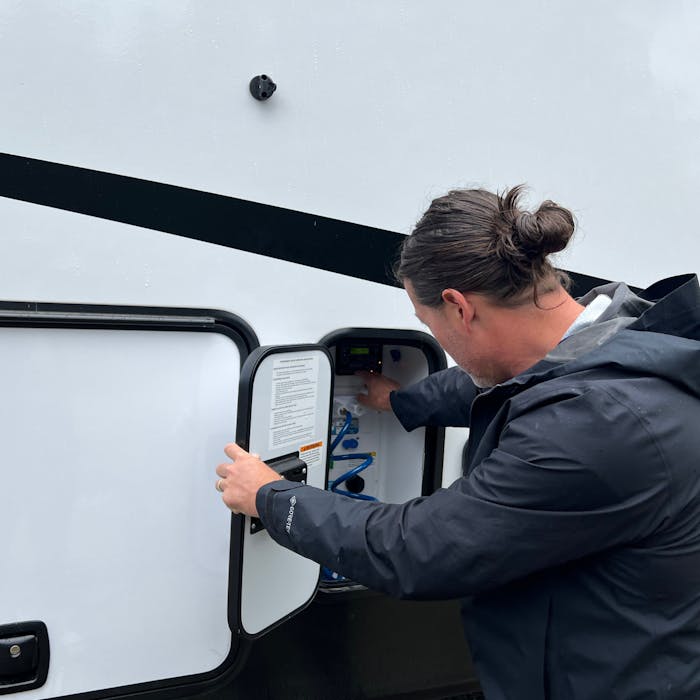
Batteries and Electrical System
- Charge your batteries to 100%.
- Make sure all your appliances work inside.
- Check lights.
- Check outlets.
- Fans
Safety Systems
- Test your smoke alarm
- Test your carbon monoxide alarm
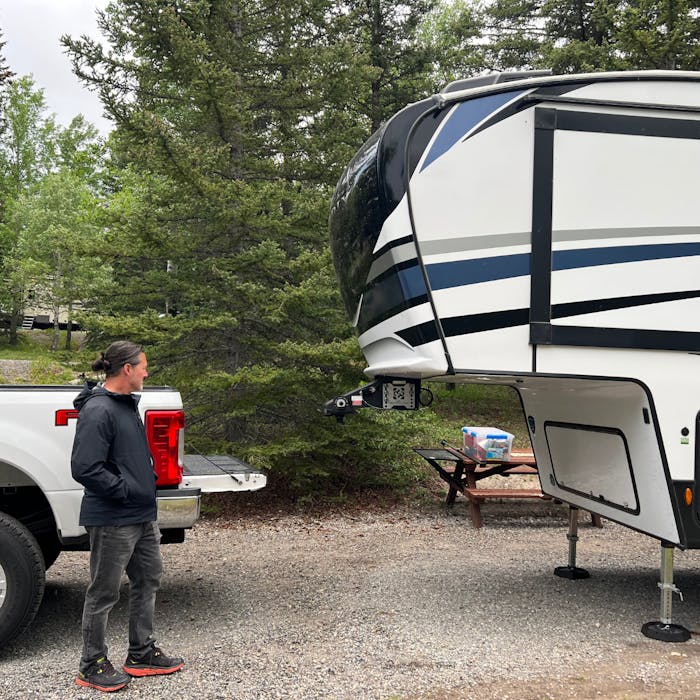
Checking Your Hitch
- Check your hitch to confirm it is in working order.
- Re-grease and tighten components if necessary.
Checking Your Roof
Visually inspect the roof for any damage.
Re-caulk if needed. (This is normally needed every couple of years.)
Check Propane System
- Fill propane tanks.
- Test the stove, furnace, water heater, and refrigerator to ensure they work off of propane.
- Inspect the propane regulator by smelling it to see if you smell propane, and/or spray it with a soapy solution from a water bottle to look for bubbles. If you smell propane or see bubbles, get a new propane regulator and check the connections.
Check Your Refrigerator
- Turn on the refrigerator and let it cool for 24 hours.
- Make sure the refrigerator and freezer are at proper temperatures after 24 hours.
- Clean as necessary.
Check Heating and Cooling
- Run your furnace and ensure the air from the vents is warm.
- Run your AC and ensure the air from the vents is cold. If you don't have a proper RV hookup at your house, this won't be possible, as you usually need the full 30 or 50 amps to run the AC.
Inspect Exterior
- Visually inspect the outside and underneath your RV to see if there are any cracks or structural damage.
- If you see any, bring them to the RV dealer for further inspection/repair.
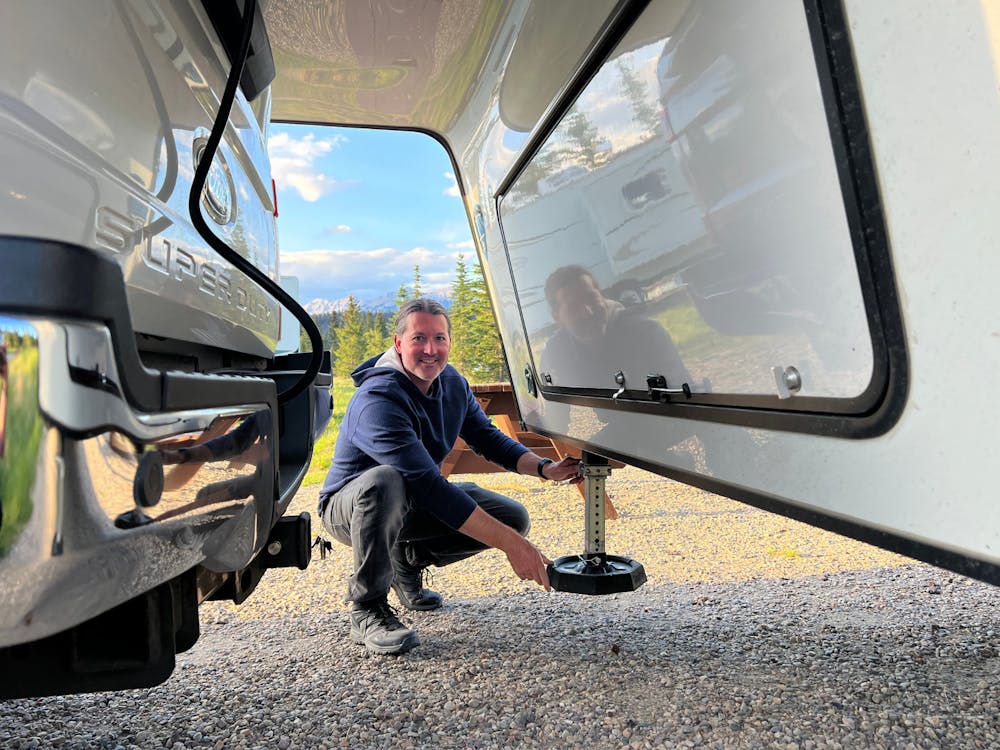
Check Your Leveling System
- Make sure your landing gear and leveling jacks are operational.
- Re-grease if necessary.
Check Your Water heater
- Replace the anode rod if necessary (it should be done every two years).
- Turn on the water heater and confirm that the water is warm.
Check Your Slideouts
Ensure they operate in and out correctly—without squealing, grinding, or crunching noises.
Check Your RV Accessories
- Check if the following are in good shape:
- Water hose
- Sewer hose
- Power cable
- Leveling blocks
- Chocks
- Any other accessories you have
Extras
Here are a few extras that we did to our RV before taking it on a 10,000-mile road trip from Wisconsin to Alaska:
RV SnapPads: You add these to your leveling jacks to make leveling easier.
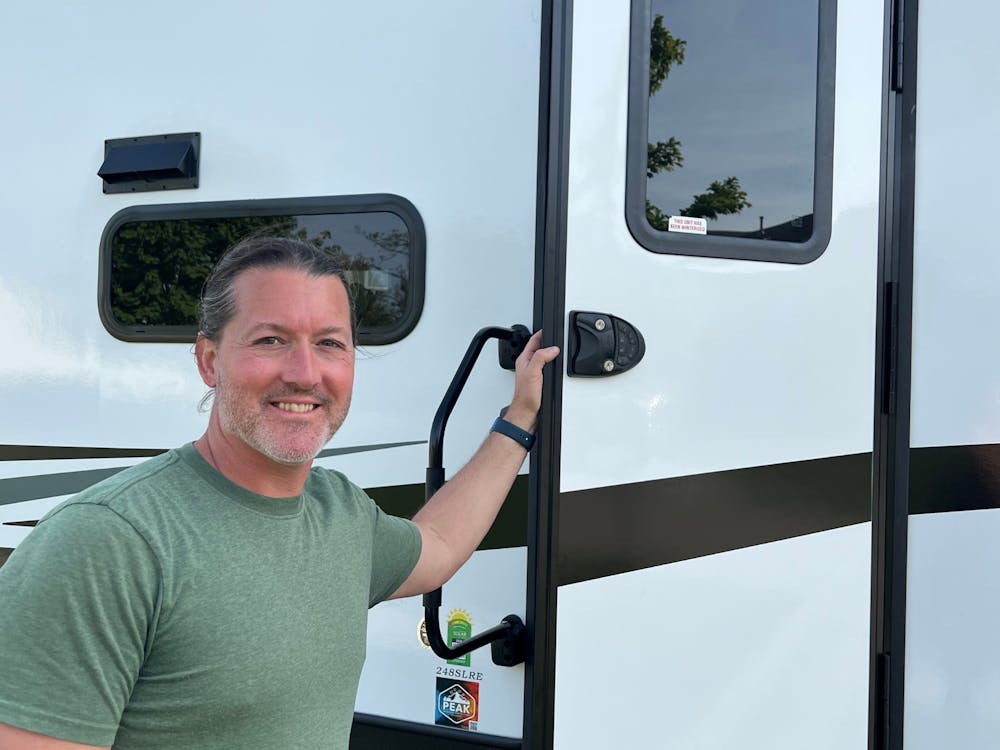
RV Lock: This is a lock you can add to your RV to make getting in and out of your RV easier (without keys!).
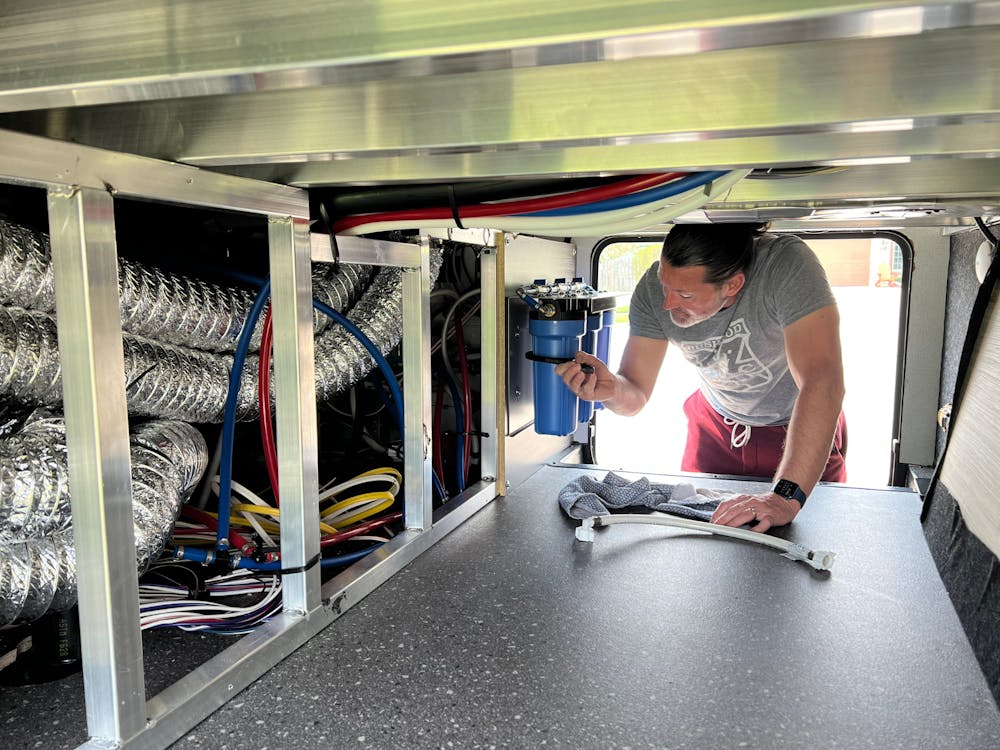
Onboard Water Filter: We got a Clearsource onboard water filter system, and Craig installed it. This means all of our water is filtered, which we have found is important since you don’t know the water quality at all the campgrounds you will be going to. This also meant Craig did not have to add a filter to our hose line at every stop.
Onboard EMS System: This is a way to protect your RV from power issues from the campground. It also meant Craig did not have to mess with a portable RV surge protector when hooking up at all of the campgrounds.
Solar: We love having solar on our rig, and we highly recommend it if you plan to do any boondocking. We also love that Keystones come prepped for solar! Simple charging and turning lights on 200 watts of solar power work fine. If you want to run an all-electric fridge or power an inverter, you will need 400 watts or more. Planning your solar setup can be very involved. If you are interested in this, we recommend researching what you want to do with solar. In our opinion, don’t count on things like your microwave or AC working on solar unless you plan to get 1,000 watts, a huge inverter, and batteries. Honestly, you don’t need all of this to enjoy boondocking.
Sumo Spring: This easy add-on to your suspension can provide a smoother ride and relieve the stress on the rest of your RV. If money is not a problem, you could go even further and get an independent suspension installed. We had this on our previous RV and liked it. But with our current rig being smaller and lighter, it wasn’t needed, and the sumo springs worked great.
Sheet Metal by Tires: This is if you want to be extra cautious and prepared if a tire blows out. Adding sheet metal to the top of the wheel well may protect your RV if a tire blows. Luckily, this did not happen to us, so we have not tested this, but we felt better having it there.
Disc Brake: If you want to upgrade your brakes to another level, you can upgrade to disc brakes. We had this in our previous RV but did not do it for our current one since it was smaller and lighter. We highly recommend it for a heavier RV.
Extra Extras:
Propane Monitor: We did not get this, but we would like to in the future. It accurately tells you the level of propane you have in your tank.
Levelmate Pro App: This product is available if you want an easy way to see if your rig is level. We do not have it, but it is on Craig's wishlist!
In conclusion, with the valuable insights and practical advice shared here from Crazy Family Adventures, you're well-equipped to make the most of your RV and embark on an unforgettable summer road trip. Whether you're cruising along scenic highways or exploring hidden gems off the beaten path, your journey promises to be filled with adventure and memories to last a lifetime. Buckle up, hit the road, and enjoy every moment of your epic summer RV adventure!