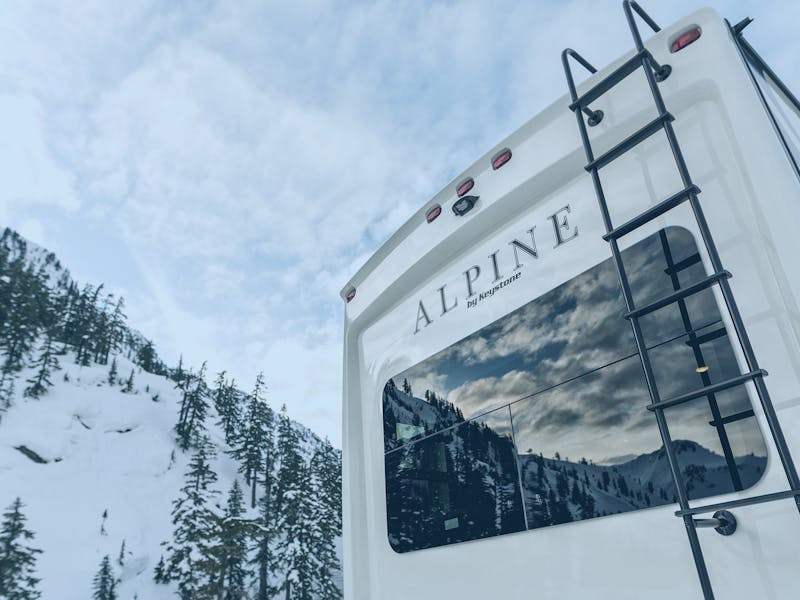
Winterizing the right way will protect your Keystone RV for the winter, and for many camping seasons to come.
"Do-it -yourself" RV maintenance may come naturally for seasoned RVers, but for new owners and weekend warriors, it can be quite the task. The purpose of our new segment, "Keystone DIY How-Tos," is designed to ease your stress and provide the best, safest and the most efficient DIY tips and tricks straight from the source. We want you to enjoy all of your adventures and simplify the processes in-between. Let us take you step by step through the best way to winterize your RV (steps may vary depending on your RV type).
TOOLS YOU'LL NEED:
- Air compressor
- Blowout plug adaptor that fits your city water fill
- RV/Marine-grade antifreeze (Don't use automotive anti-freeze. The glycerin/alcohol-based RV and anti-freeze is non-toxic while automotive anti-freeze is not)
- Screwdriver or screw gun
- Fill tube/hose
STEP-BY-STEP (see video below for an in-depth breakdown)
- Drain water heater located on the outside of RV, typically near the outside wall of kitchen or bathroom.
- Find your low-point drains, usually found near the water heater under your unit. Open both drains completely.
- Turn on all faucets, both hot and cold, including; tub, sinks, showers (indoor and outdoor).
- Locate the fresh water tank drain on the outside of the unit. This could look like a valve or just a cap covering the drain, open the drain.
- Re-trace step 3, close all open faucets.
- Locate and open the city water connection, this is located next to your fresh water-fill access.
- Connect compressor to city water access and turn on. Open each faucet one at a time, run until empty, then close the tap before moving on to the next.
- With the system clear of water, remove the air compressor and head to the water heater's bypass valve (locations vary). Most fifth wheels and some travel trailers have a convenience center that includes a winterization bypass, otherwise it will be connected directly to your water pump or on the back of the water heater.
TIP: To locate the water pump and bypass valve, turn on your water pump and listen for the "hum" of the motor. If it is located behind a panel, you may have to unscrew the panel to gain access to the system.
>> After locating the bypass valve, turn it to "on" or "winterize." - Connect your anti-freeze bottle to the pump and turn it on. Some pumps are fitted with a fill tube that you can place inside the anti-freeze bottle, otherwise, you'll need to supply your own. While the pump is running, go around to each faucet (and toilet) again, and open until you see pink anti-freeze come out.
>> If you have a residential refrigerator with an ice maker you will need to run anti-freeze through that too. When you've completed steps 1-9, with the pumps still running to maintain pressure, run your ice maker through a couple cycles to ensure the anti-freeze makes it through.
TIP: It can being tricky to know when the anti-freeze has made it to the ice maker. The built-in filters in most refrigerators will pull the pink color out of the anti-freeze, so the only way to know for sure if the liquid has made it through the system is to taste it. The liquid in the ice tray should have a sweet and bitter taste. Non-toxic RV/Marine anti-freeze is perfectly safe.
THAT'S IT! Now you can relax and know your Keystone will be safe during the winter months and ready to go next spring!
Click on the video below to see Chris DeLaPaz from Keystone RV's service team walk you through each of these steps.


